If you want to integrate Eye-Able Assist locally on your WordPress website, you can do this using the Eye-Able Assist WordPress Plugin.
Installation of the Eye-Able WordPress Plugin
Step 1: Download the Plugin from the Eye-Able Dashboard
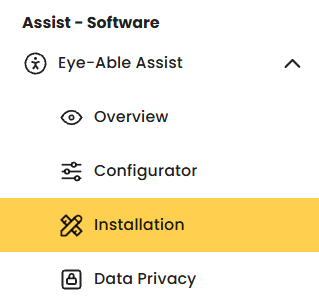
Open the Eye-Able Dashboard and navigate to: Eye-Able Assist > Installation
Step 2: Select Local Hosting
Click on the WordPress icon in menu item 3: “Hosting on Your Own Server” to download the plugin.

Step 3: Open Plugin Management in WordPress
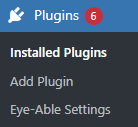
In the WordPress menu bar, open the “Plugins” section to access plugin management.
Step 4: Upload the Plugin
Click on “Add Plugins” and then on “Upload Plugin”. Upload the Eye-Able Assist WordPress Plugin.
Step 5: Activate the Plugin
Go to “Installed Plugins”. Check whether the plugin is activated and activate it if necessary.
Note: If you would like to install additional products such as Plain Language, Translate, or Access on your WordPress website, you can find instructions for integration using JavaScript code in the following guide:
Integrating Eye-Able into WordPress: Integration via JavaScript Code
Apply Configuration Changes
To transfer changes from the Eye-Able Dashboard to your WordPress website, you must load the current configuration file into your installation.
Further information can be found in the following article:
How Do I Apply Changes from the Dashboard to My Website Using the Assist WordPress Plugin?
Further Information
Further information about the integration options for your WordPress website can be found here:
How Can I Integrate Eye-Able Software into My WordPress Website?